One of the areas that always fails on boats is the stanchion bases becasue the glass is so thin compared to the abuse they take in day to day sailing
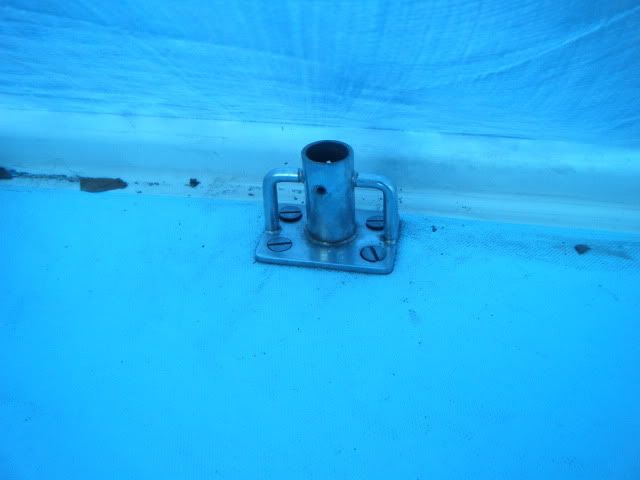
Both of the forward stanchions had cracked the inner and outer hull skins allowing water to soak the core to avoid this in the future i fitted 1/2" thick 8" x 6" G10 blocks which will put the load into 48 sq inches of deck compared to the orginal 6 sq inches
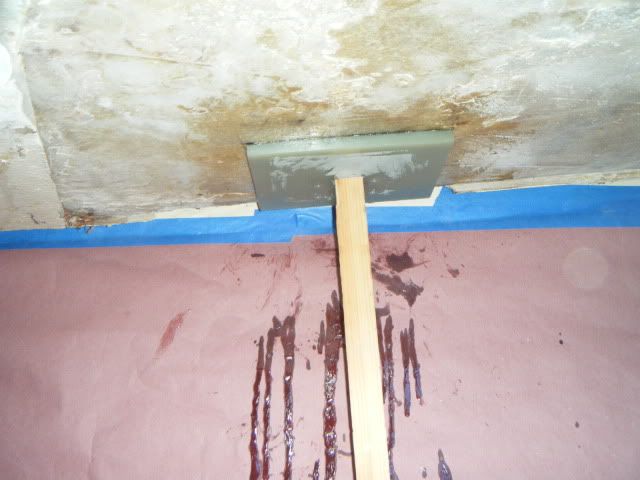
Starboard
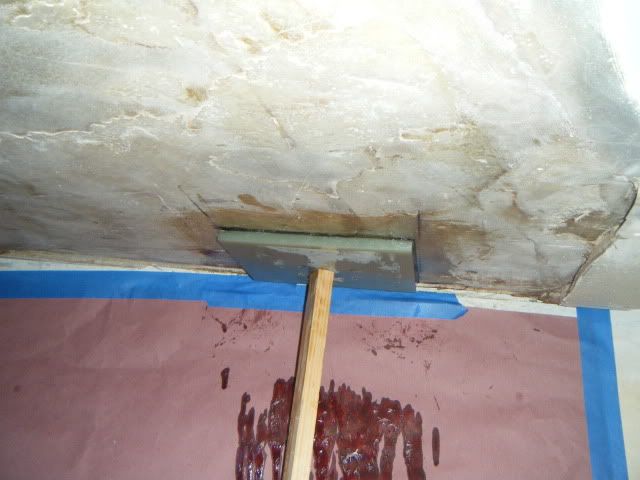
Port
Nothing on a boat is every easy and this was no exception as the port and starboard stanchions were different enough i had to drill each block up different :)
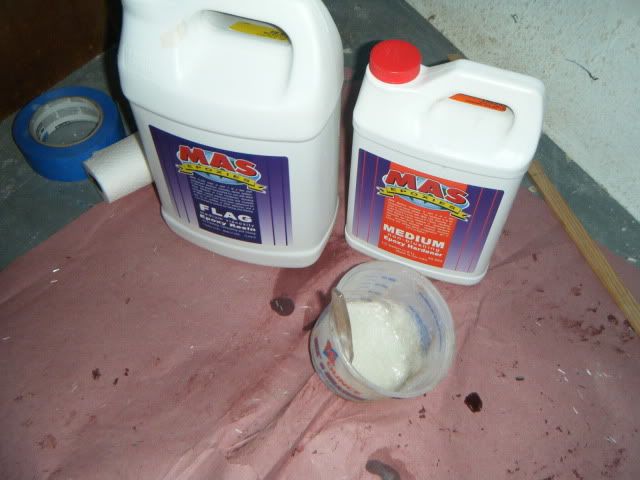
I went with MAS brand epoxy because i like the 2:1 ratio and the containers are easy to pour from
I am using chopped fiberglass to thicken the mix at about one teaspoon per OZ so far as it seems to add a LOT of strength compared to other thickeners


