Total Pageviews

Followers

Thursday, March 25, 2010

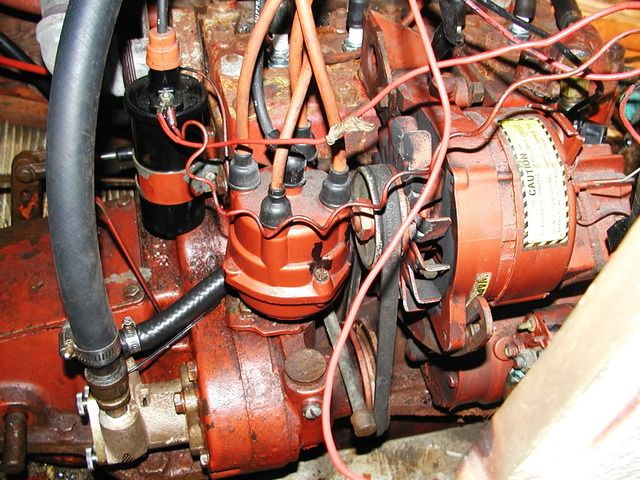
The motor is looking a bit cleaner

Photobucket

Photobucket

Photobucket

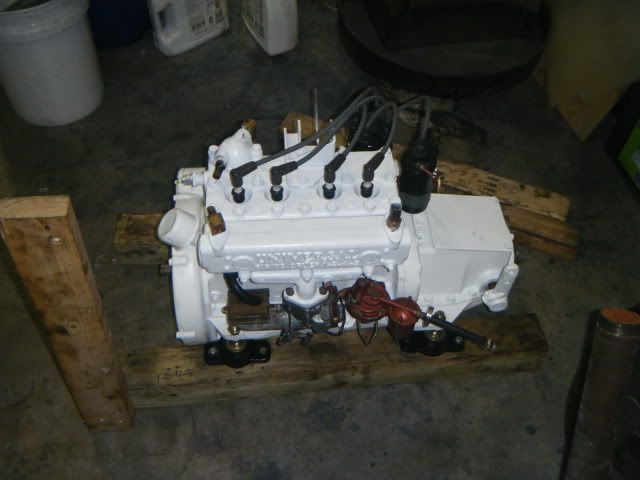
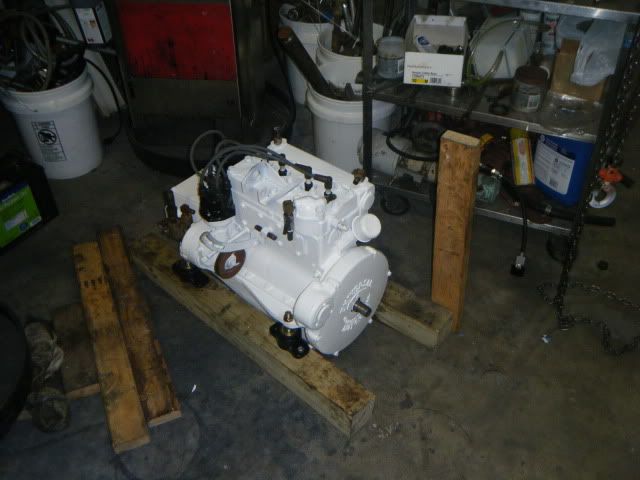
So some motor mounts that MOVE :)  a bunch of scraping and a few coats of alleged high temperature paint

A bit of hatch progress

Photobucket

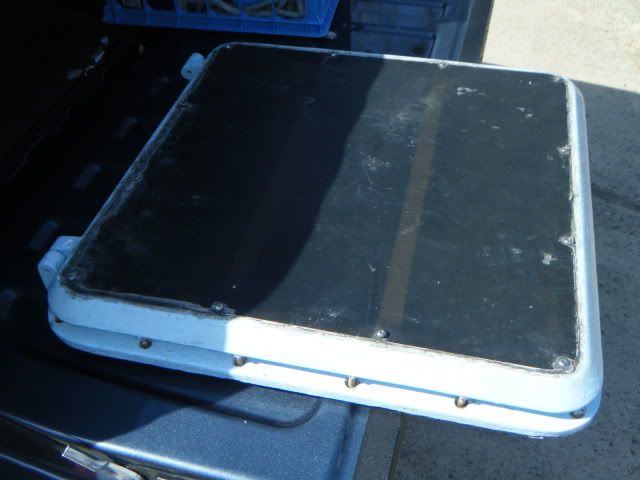
Well the hatch came apart without breaking anything which is good

After taking to the factory they powder coat this model as anodizing was hit and miss on the cast hatch's SO white powered coat is looking like the way to go

Monday, March 22, 2010

The first section of core finished

Photobucket

Photobucket

The first two pieces have come out great and its amazing how the resin wicks through the balsa grain it has to be making it much stiffer

Its a good thing i went with a SLOW cure to allow it to penetrate before kicking

Saturday, March 20, 2010

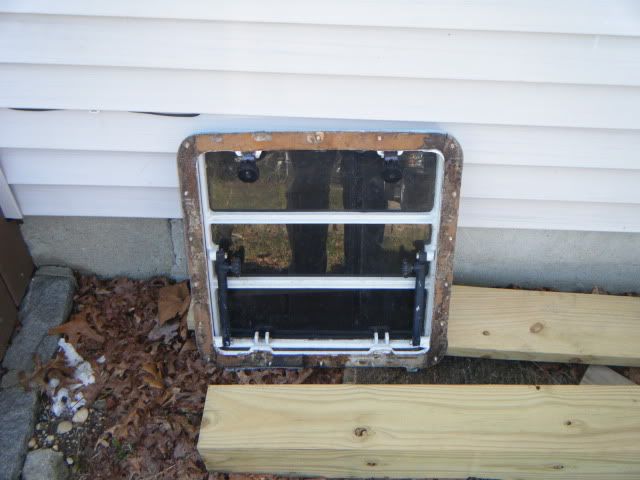
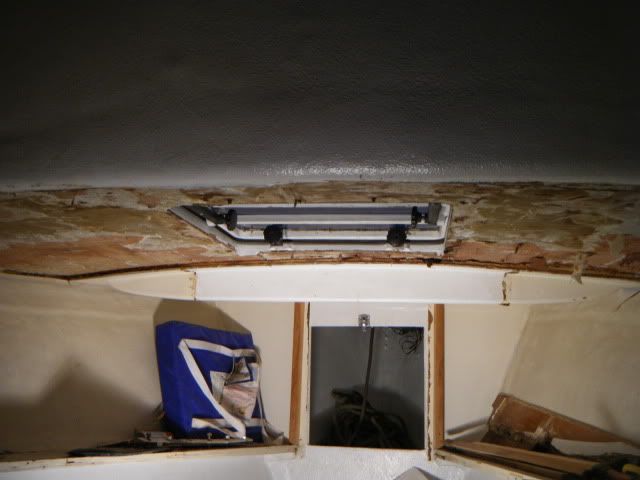
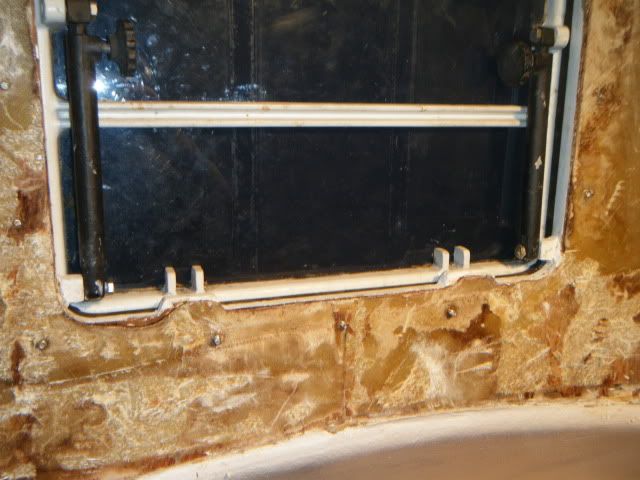
The forward hatch rebuild

I was going to by a new hatch until i found out this one is special in that it was made to fit the curve in the deck

Photobucket

And at 1200 dollars its worth some elbow grease  :)

Photobucket

Photobucket

So about 250 dollars should cover a new lens and the paint as the good paint is expensive  BUT it looks great and holds up to saltwater

Photobucket

When i rebuilt my J24  i got pretty good at the in and outs of painting

Photobucket

The First new deck core going back in

I am using 1/2" balsa core that comes in 2' X 4' sheets of small squares that allows it to be cut up into just the right size

Photobucket

This is the  first 6" x 24" section which is backed up with 1/8 Masonite covered in wax paper to keep the core flat against the deck

I found bundles of 48 x 48" sticks at home depot for 6 dollars and it seems to have worked out well i will work on two more sections tomorrow  as i want to get to deck stiff again before i remove any more core

So far mixing up 6 OZ of  epoxy at time is working out well and i am allowing it to soak into the core and then giving another coat before placing it on the hull

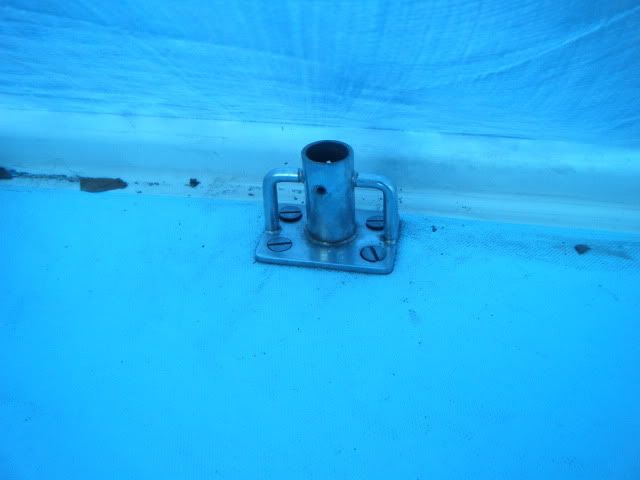
Making the forward stanchions bullet proof

One of the areas that always fails on boats is the stanchion bases becasue the glass is so thin compared to the abuse they take in day to day sailing
Photobucket

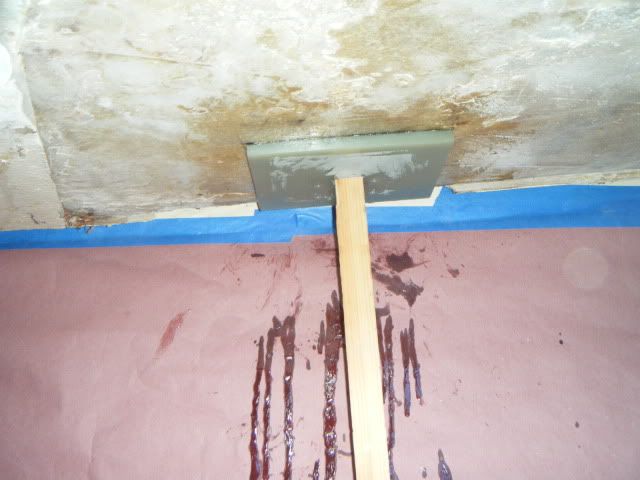
Both of the forward stanchions had cracked the inner and outer hull skins allowing water to soak the core to avoid this in the future i fitted 1/2" thick 8" x 6" G10  blocks which will put the load into 48 sq inches of deck compared to the orginal 6 sq inches
Photobucket

Starboard

Photobucket

Port

Nothing on a boat is every easy and this was no exception as the port and starboard stanchions were different enough i had to drill each block up different :)
Photobucket

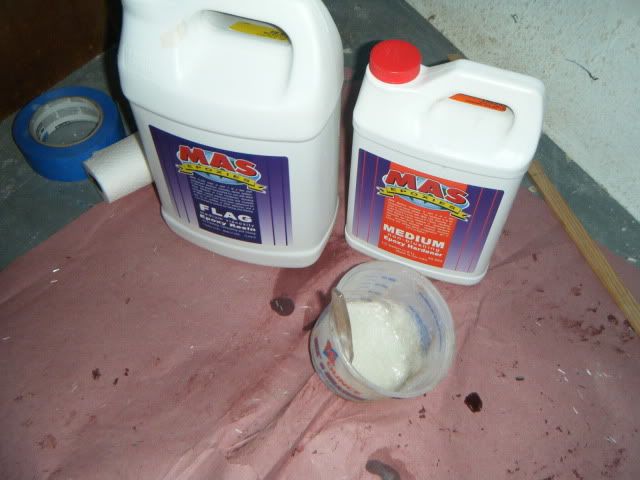
I went with MAS brand epoxy because i like the 2:1 ratio and the containers are easy to pour from

  I am using chopped fiberglass to thicken the mix at about one teaspoon per OZ so far as it seems to add a LOT of strength compared to other thickeners 
Saturday, March 6, 2010

The deck is really wet

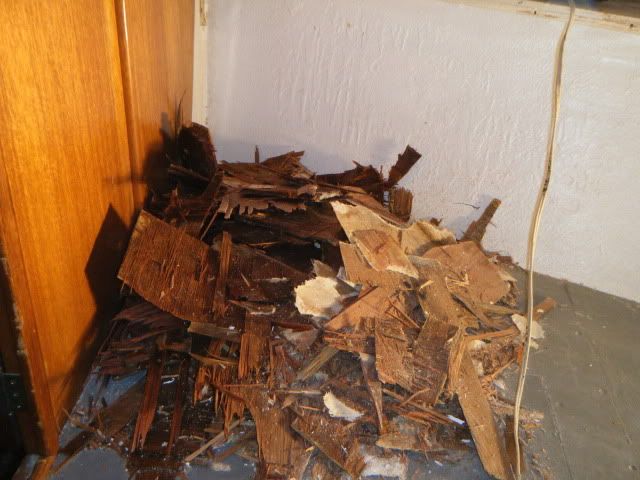
Everything bad people say about plywood decks is worse than they say  as the water seems to be able to travel endless distance

Photobucket

I started around the forward hatch  as it a wide open area that will allow me to get a good system worked out to replace and glass the core

Photobucket

YOU REALLY have to wear full protection for you EYES LUNGS AND SKIN  and i am working with a vacuum sander to control the dust

Photobucket

I will be ordering some core materiel this week as its just starting to get warm enough to use epoxy to start putting things back together

Wednesday, March 3, 2010

More wet wood

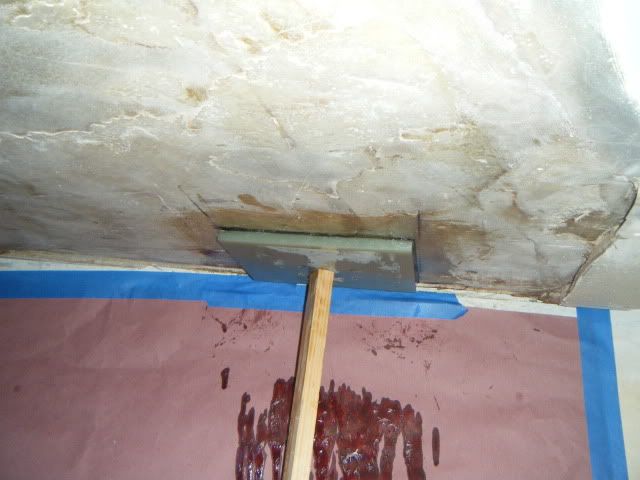
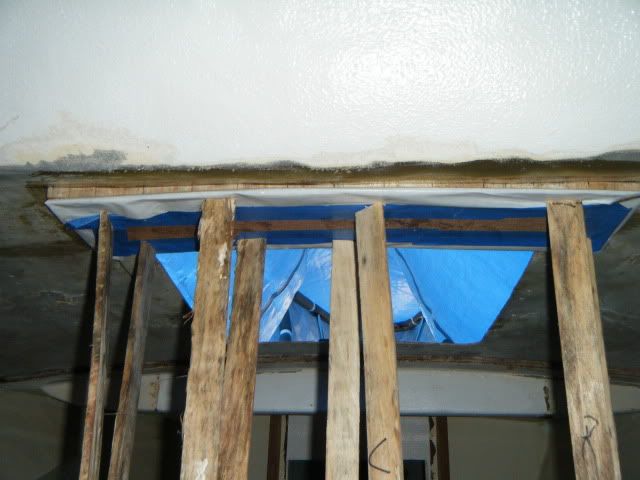
I have started repairing the forward 8' of deck as its beyond hope in many places due to the original plywood core allowing water to travel so far

After checking the skins i have to do it from below as the inner skin is to thin to support anything if i removed the outer skin

As par for the coarse its to cold to finish anything pictures to follow