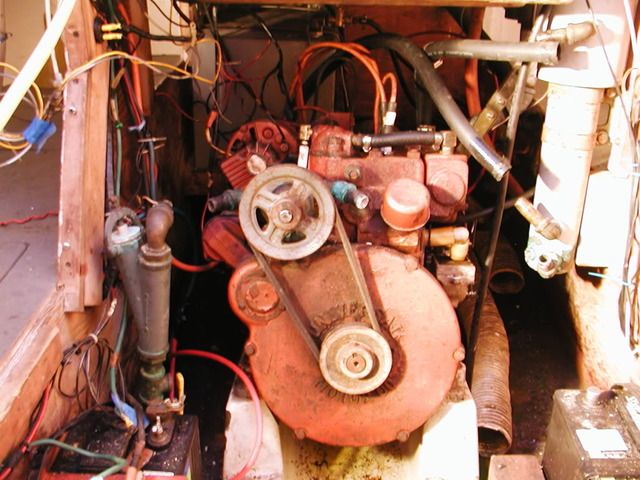
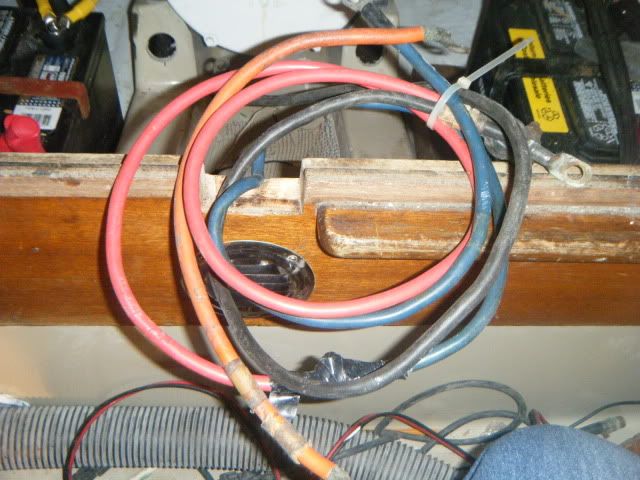
Its hard to go backwards when some tired battery cables are the good stuff
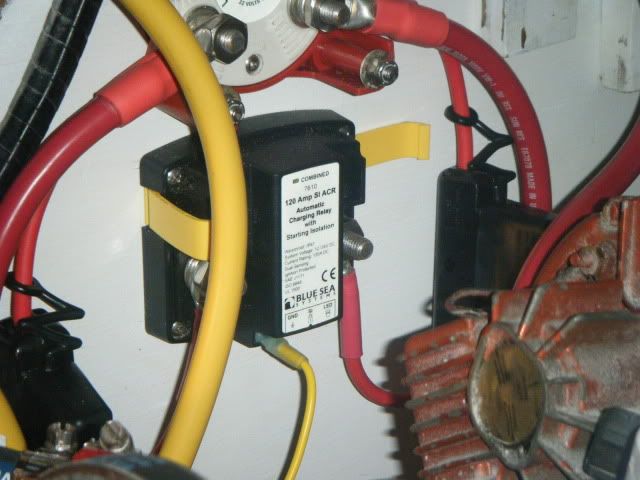
So a new switch and ACR
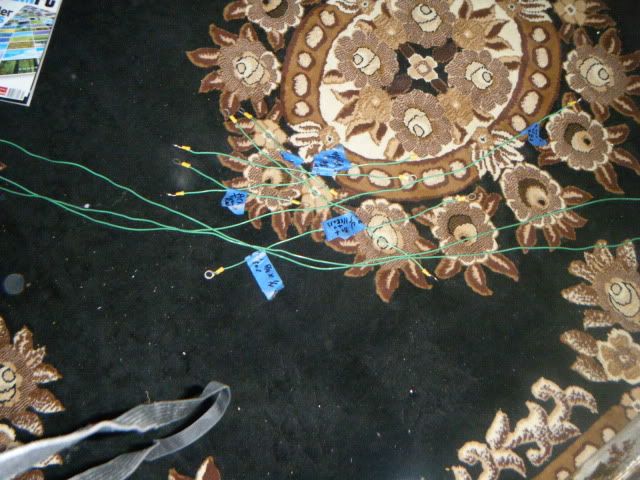
Make up a bunch of dummy cables to get the length right
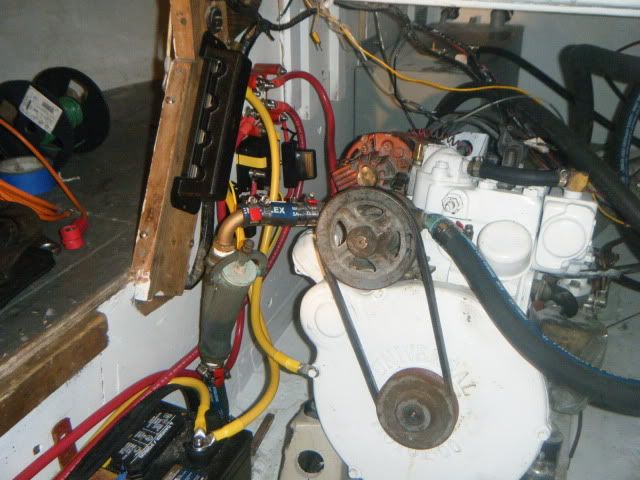
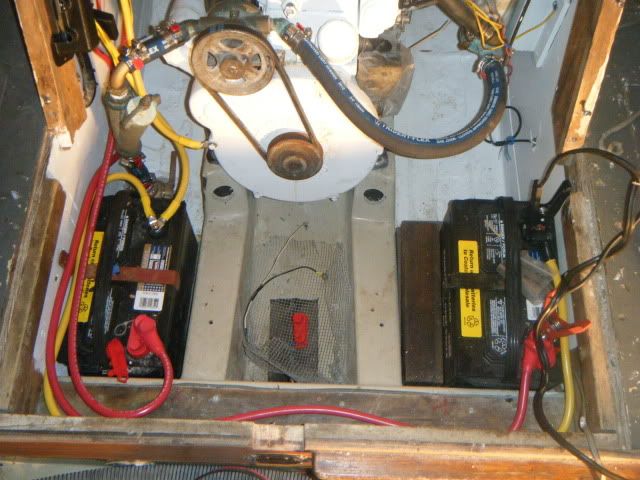
All toghter starting to look much better
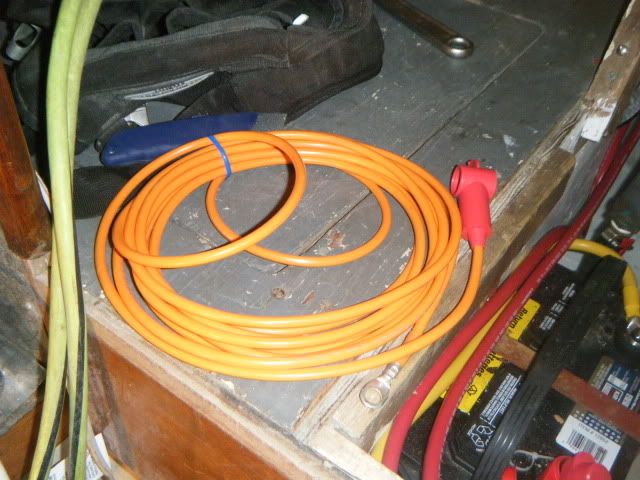
But of course a 20" cable got made 20'
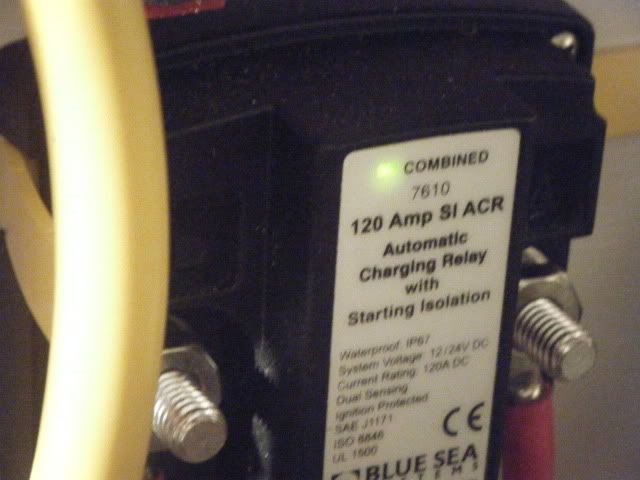
I ran a test charge and everything combined just like the instructions and opened right on time also
The 12 switch panel should be waterjet cut this week
The 12 switch panel should be waterjet cut this week and two battery posts fuses just in case and a whole bunch of cable securing

No comments:
Post a Comment